Showing posts with label Quilt Cards. Show all posts

Sunday, October 1, 2023

Christmas Wreath Quilt Square - Five Ways

It's only September and  I've already finished most of my Christmas cards for this year.  Big yay!  Ever since I discovered how much I enjoy making quilt squares from paper, I'm always looking for new ways to incorporate them into my cards. 

I had so much fun designing this Christmas Wreath Quilt Square that I ended up making a bunch of them.  Here's how I used them to embellish my Christmas cards--


I kept this one pretty simple by mounting it on a brick "wall".  The embossing is done with a (retired) pine bough folder.


This one is a little more rustic.  The embossing was done with a gingham folder.  I like the addition of "Joy" in the middle, don't you?  


This one might be my favorite...


This diamond-fold really lends itself well to show off a quilt square!


This one uses a template from Robin Armbrecht called 4 Lovely Layers Template #19.  Such a great way to show off our beautiful designer papers!

I'm sharing this design at the Festive Friday card making challenge.  Green, sparkle & triangles are my elements.


Except for the diamond fold card, each of my cards (including the wreath) uses the gorgeous Joy of Christmas Designer Series Paper.  This paper has been so popular that it is currently sold out, but scheduled to be back in stock the week of October 16.  Until then, try making your wreath with your favorite red & green designer papers in your stash! 

If you want to try your hand at making the Christmas Wreath Quilt Square, please click below to download the template and let me know how it turns out!


Product List


Friday, July 21, 2023

Crafting With You - Quilt Cards

Let me begin by saying I Don't Sew.  Not a stitch.  So it's kind of funny that I've become obsessed with making quilt cards, but that's how it is.  


#tictactoechallenge
#tttc219


I've made a dozen of these cards so far and I'm not done yet.  They are a little tedious, but totally addictive!  I love going through all of my designer papers and choosing colors & patterns to mix together.

Each card starts with at least two 1-1/2" squares of designer paper.  Each square gets cut into 8 triangles-like this:


#1 - Line up the squares on the cutting track of your paper trimmer to make the first cut.  I hold them in place with Post-It Note Tape.  Photo #2 shows the squares after the first cut.

Continue cutting each triangle as shown in photo #3.  Repeat until you have 8 triangles (photo #4).

Assembly:

 Each square is assembled on a 1-1/2" square of Basic White cardstock.  Attach 4 triangles in the pattern shown, using a little liquid glue.


To make this design, you will make 4 identical 1-1/2" squares as shown in the tutorial.  Cut a 3" square of Basic White cardstock and adhere the 4 squares to it with the edges butted together. 


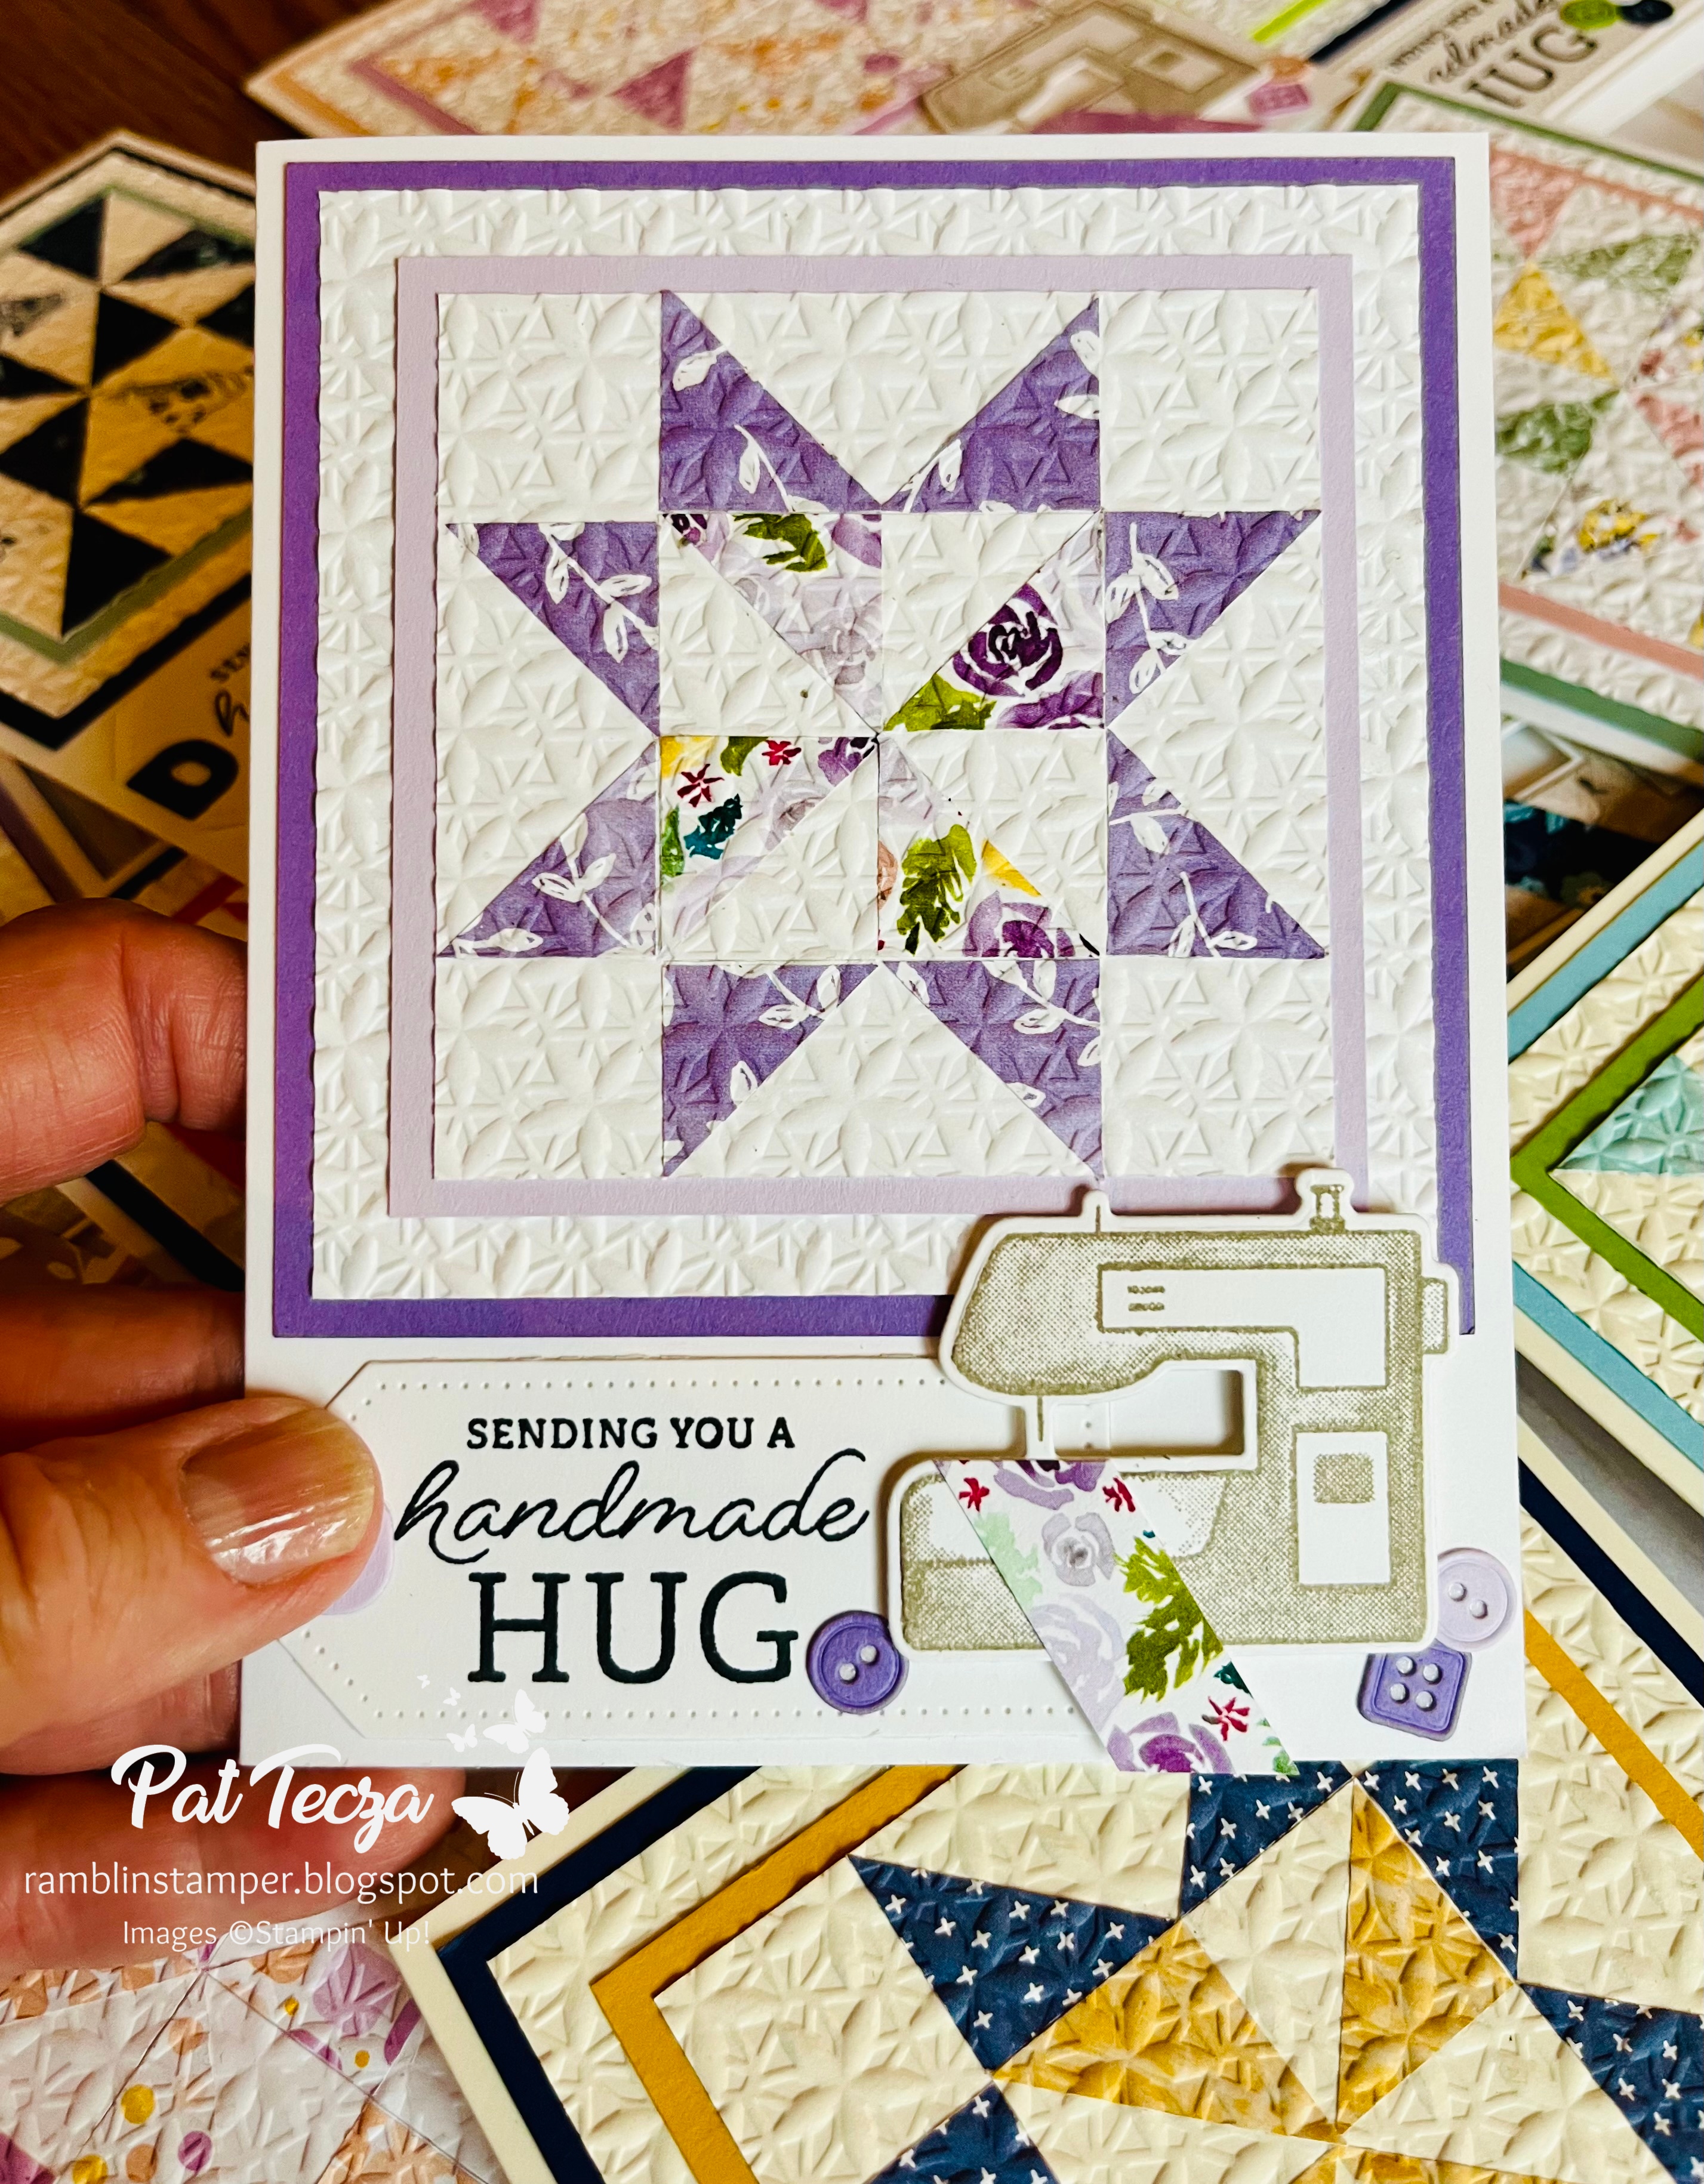
For this star design, you'll adhere one completed square to the center of the 3" square of Basic White and arrange 8 more triangles around the center square.  The magic happens when you emboss it!  I love this embossing folder, it adds so much texture to this project.


The layer behind the quilt square is a 3-1/4" square in a coordinating color of your choice.  The white layer behind that is a 3-3/4" square, also embossed.  The last layer is a 4" square in a coordinating color.

The sewing machine is stamped in Gray Granite, one of my favorite neutral colors.  The strip of fabric in the machine is 1/2" wide, angled on both ends.


This one is decorated a little differently with the basket of threads and scissors.  These are all included in the Crafting With You dies.


Product List