Hi Friends,
I have a fun card to show you today. It's a shaker card that's easy to mail! If you've ever made one of these, you know they can be a bit bulky - well, this is a no-bulk version. Foil Frenzy designer paper and bright, bright colors make it festive as can be!
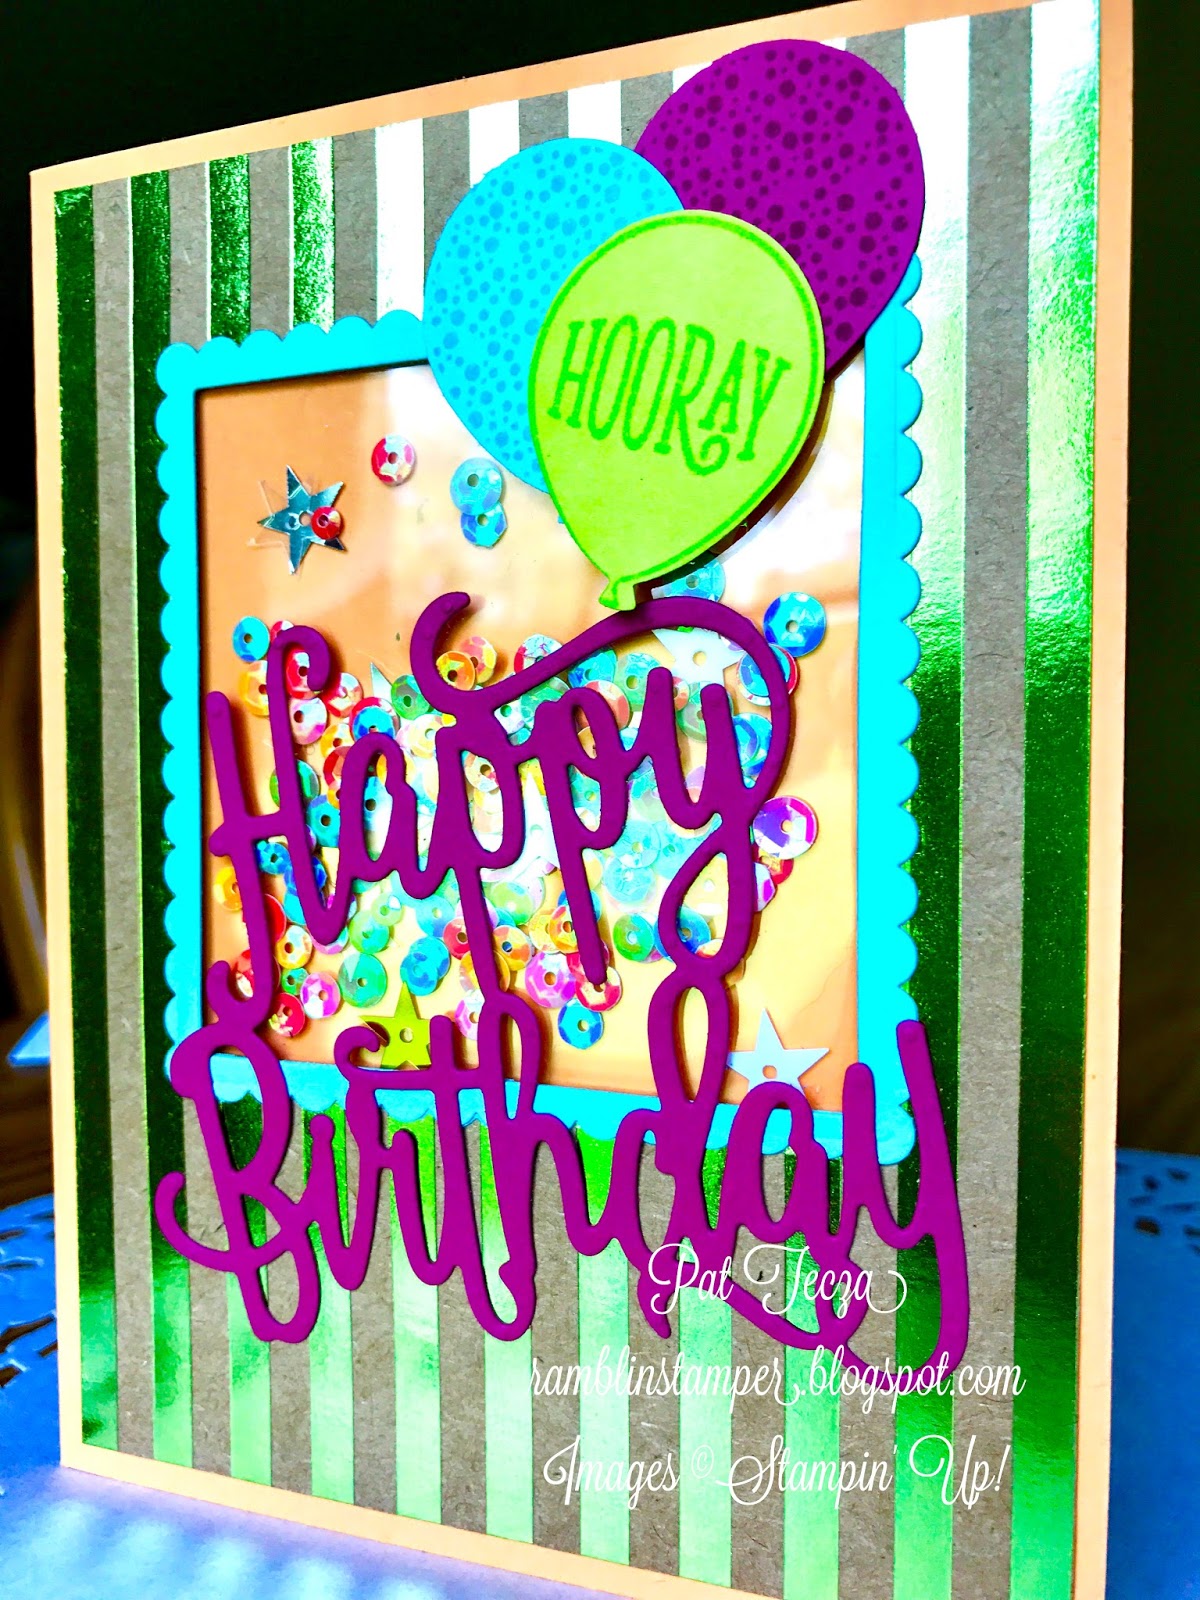
The Iridescent sequins are the star of the show here. I chose the colors for the rest of the card to work with them! The colors you see here are Peekaboo Peach, Pool Party, Lemon Lime Twist and Berry Burst.
The card front is a 4" x 5-1/4" piece of Foil Frenzy DSP. The square window is die-cut using the 2-5/8" die from the Layering Squares Framelits. On the back, you'll place 1/4" double-sided tape adhesive all the way around the window opening. You'll want to be very careful that the tape meets in all four corners to create a tight seal so that none of your sequins can escape! Next, you'll need 2 pieces of 3-1/4" square window sheet. Peel the backing from the tape and attach one of the window sheets over the opening.
Now comes the fun part - choosing how to fill your shaker card! I used the new Iridescent Sequin Assortment and added a few stars from a Metallic Sequin Assortment (retired). You could also use mica flakes, or some small shapes punched from cardstock, or any combination of the above. Whatever you choose, you'll want to place them in the center of the window. Because of the construction on this card, there is not a lot of movement to the sequins. (Which is a good thing - they won't all fall to the bottom of the window!) When you're satisfied with the elements you've chosen for your card, attach the second window sheet to seal them in. Remember, your double-sided tape must meet in all 4 corners.

Back to the card front, the window frame is cut from Pool Party cardstock using the largest scalloped square in the Layering Squares Framelits. The inside is cut using the same 2-5/8" square die that you used for the card front. Attach it using a 1/8" piece of double-sided tape (cut Tear & Tape adhesive in half lengthwise). Now you're ready to adhere the card front to the Peekaboo Peach card base.
The 3 balloons are stamped with Berry Burst, Pool Party & Lemon Lime Twist inks on cardstock of the same colors. Punch them out with the Balloon Bouquet Punch (or fussy-cut) and adhere them to the cardfront using Multipurpose Liquid Glue.
The Happy Birthday Thinlit is a perfect die to use with the new Multipurpose Adhesive Sheets. Cut a piece large enough to cover the back of the Berry Burst cardstock you'll be using. Peel the backing from the adhesive sheet and attach it to the cardstock then run it through the Big Shot as you normally would. You'll want to run it back & forth a couple of times to be sure the die cuts all the way through the double thickness. Peel the paper backing from the die-cut piece and adhere it to the card front. No glue mess!
The inside of the card is festive too!
This card is so much fun, I had to make more than one. This version uses Pool Party, Lemon Lime Twist and Bermuda Bay. The "Happy Birthday" is 2 die-cuts layered together.
These cards make me smile! I hope you like them.
Product List
Down to business...
There are only 9 days left in July to earn Bonus Days coupons. Get a $5 coupon for every $50 (before tax & shipping) you spend in July. Use them to save on any purchase in August! Click below to start shopping!
Also, there are only 9 days left to snag a free Essentials Gift Pack when you sign up to join my team and the Stampin' Up family of demonstrators!
Still on the fence about it? Here are some frequently asked questions about joining to help you decide. This is your opportunity to learn, have fun & save (or earn) money at the same time!
Have a wonderful day,
Pat